Contents
Time and Attendance Upgrade Guide

Introduction
This article is intended for on-premise customers. It's purpose is to guide through the six stages required to upgrade an existing installation of Time and Attendance for Windows and Web. It is intended for an IT professional who is familiar with the Time and Attendance software system.
If you are upgrading from any version prior to v8 do not proceed and instead contact our Support Team or your Account Manager.
Note: Before starting, we strongly recommend that you read through this entire document to familiarise yourself with the upgrade procedure. In this document, we refer to our network location as 'C:\'. However, this path may be different for your installation.
The six stages for upgrading are:
- Backing up your system
- Downloading and unpacking the setup files for your upgrade.
- Upgrading Time and Attendance v8.
- Upgrading the Time and Attendance web instance
- Upgrading your data via SYSGEN.exe
- Request and upload the amended licence*
Prerequisite check for upgrading
Before you start the upgrade, please make sure that:
- You have the Time and Attendance MASTER account password
- You are currently running Time and Attendance v8. To verify this, log in to WINTMS as the MASTER user and select Help > About. The About window will display your installed version number
- You have an existing installation of Time and Attendance for Web v8. To verify this, log in to Web as the MASTER user then navigate to the Licensing page and confirm the ‘Allowed version pattern’ is version 8.
- You have access to the server which runs the Time and Attendance applications/services (e.g. Poller/Processor) and the Web Server which hosts Time and Attendance.
- You know the location of and have full access to the directories which contain the existing v8 files for WINTMS and Time and Attendance Web. These will usually be in C:\WinTms and C:\inetpub\wwwroot\TMS respectively (Note: the names of the Time and Attendance directories may differ)
- You have a network log in account with privileges to stop/restart your web server (IIS)
- Ensure that ALL users are logged out of both Windows and Web Time and Attendance.
- Ensure that ALL Time and Attendance applications and services (e.g. the Poller and Processor) are stopped. Instructions on stopping the services are shown below.
You will now need to perform the following actions:
- On your server which runs the Time and Attendance applications/services, load the Poller Controller via the taskbar or shortcut
- When prompted, enter the MASTER login details
- Select File, then click Stop poller
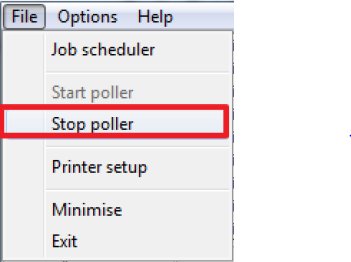
- Once it has been stopped, select File and click Exit
- Repeat from step 2, but instead use the Processor Controller program
- Should you have more than one poller/processor running, repeat these steps for each of them
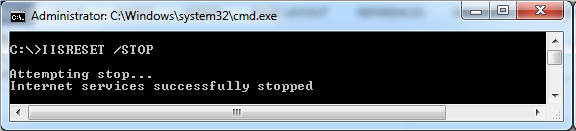
- Ensure that IIS is stopped by opening the command prompt on the Web server and type the command “IISRESET/STOP”. This process should only take a second or two.
Backing up your system
Before upgrading your system, it is very important that you have a recent backup. This will allow you to roll back any changes you make during the upgrade procedure should anything go wrong. You should backup your TMS database, WINTMS programs and your existing Web Time and Attendance directory using the following guidance.
Backing up the Time and Attendance database
Whilst you may already have a Time and Attendance database backup from a nightly backup routine, we still recommend that a manual backup is taken via your SQL Server Management Studio on your Time and Attendance Server or via WINTMS to ensure it is fully up to date prior to upgrading.
SQL Tools - The Helpdesk do not directly support SQL tools, but suitable instructions can be found online by searching for ‘Backing up using Microsoft SQL server’. Examples shown below:
- SQL Server 2012 or later - https://msdn.microsoft.com/en-gb/library/ms187510.aspx
- SQL Express - http://www.serverintellect.com/support/sqlserver/database-backup-ssmse
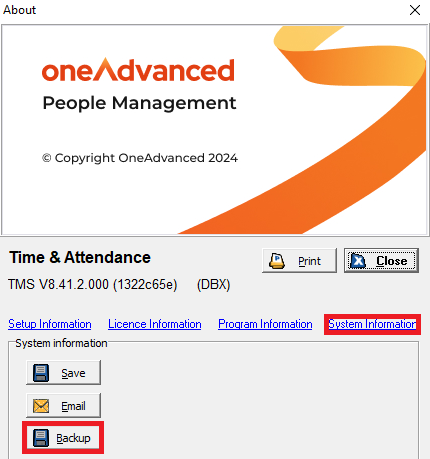
- WINTMS Database Backup - Alternatively a manual database backup can be performed by loading WINTMS, but you will require a daily pin to perform this which needs to be requested from Support.
Load WINTMS as the MASTER user and select the menu Help > About. Select on the System Information link, then select the Backup button and enter the daily pin provided by Support.
Backing up the WINTMS programs
To do this you will need to make a copy of your existing WINTMS directory. The default location for your Time and Attendance directory is:
C:\WinTMS
Browse to this directory which contains all the files necessary for WINTMS. Right-click the directory and select copy. Then paste the directory in a safe location e.g. C:\WINTMS_BACKUP. This will allow you to roll back any changes you make during the upgrade procedure.
Backing up Time and Attendance for Web
To do this you will need to make a copy of your existing Time and Attendance for Web directory. The default location for your web directory is:
C:\inetpub\wwwroot
Browse to this directory and locate the folder which contains all the files necessary for Time and Attendance for Web. Right-click the directory and click copy. Then paste the directory in a safe location. This will allow you to roll back any changes you make during the upgrade procedure.
Download and unpacking of the setup files for your upgrade
On the Time and Attendance Server, download the Time and Attendance 8 zipped files for WINTMS and Time and Attendance for Web using the URL links labelled CD provided with these instructions.
Next, unzip each downloaded file and extract the contents to a temporary location (e.g. your desktop) you can work from.
Upgrading Time and Attendance v8
Once you have made a backup of your existing WINTMS system, downloaded and extracted the WINTMS v8 zip file, you are ready to start the upgrade of your system.
Time and Attendance Setup
Locate the setup.exe file from the temporary location, and double-click it to launch the Install Shield Wizard for Time and Attendance:
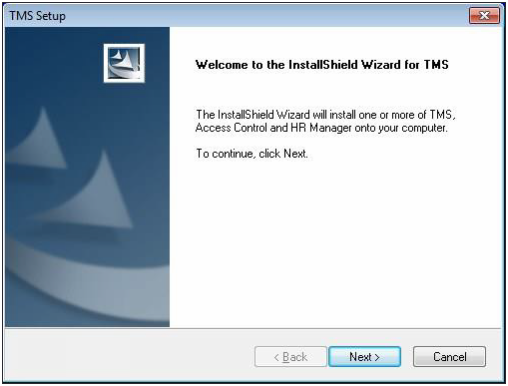
Select Next to continue:
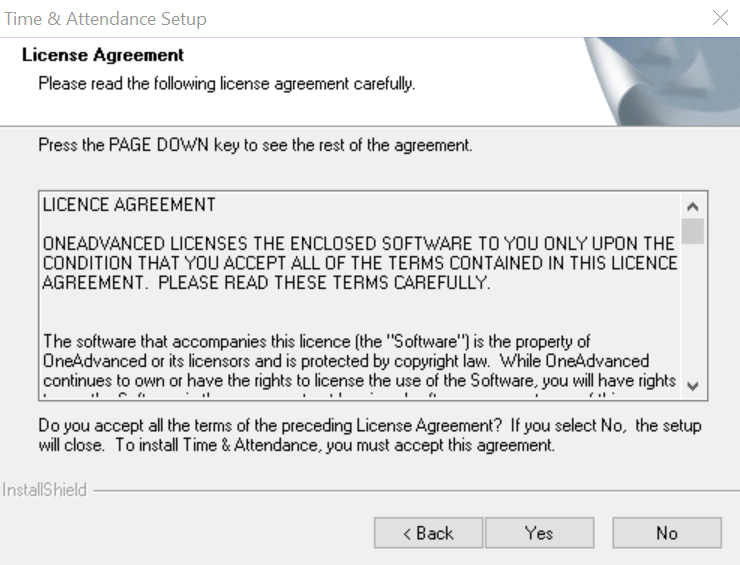
When prompted, read and review the License agreement, then select Yes to accept the license agreement.
Select packages to upgrade
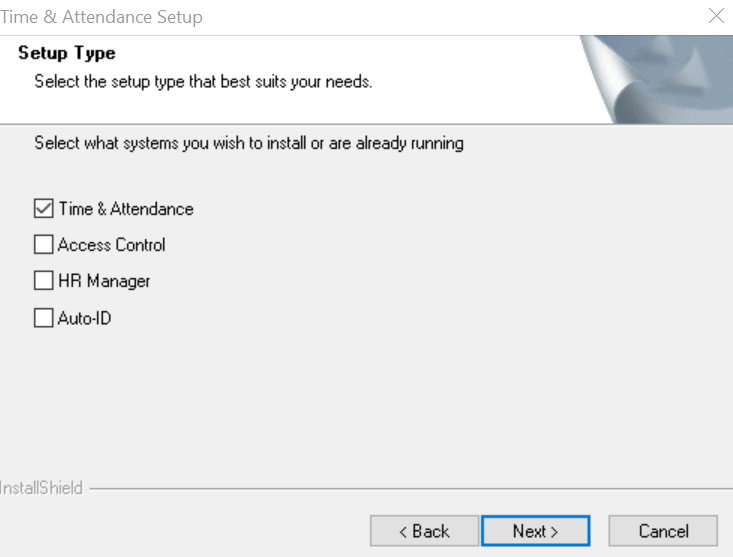
Select the packages that you use, and click Next to continue.
Choose the WINTMS directory
The upgrade routine will automatically detect the directory where WINTMS is currently installed on your machine. This is C:\TMS in the example below:
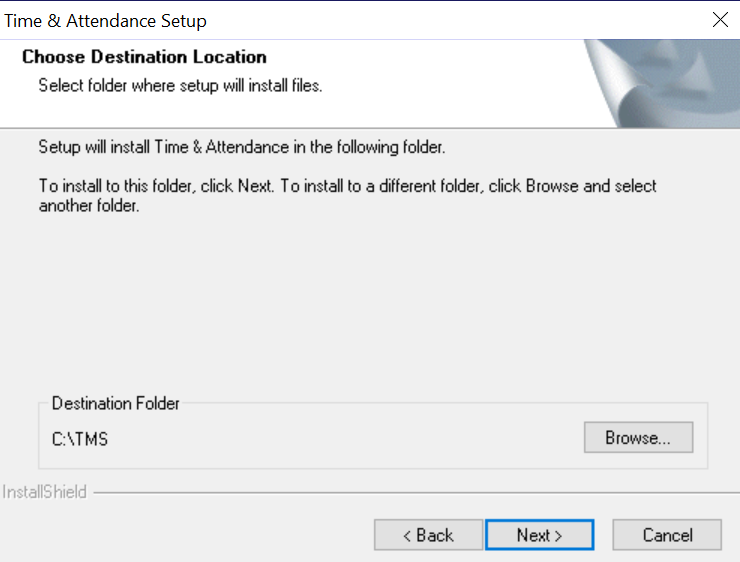
Should you need to change this, use the Browse button to locate the correct directory. Select Next to continue.
Select the folder for icons
Select a folder from the programs menu on your PC where the new Time and Attendance icons will be stored:
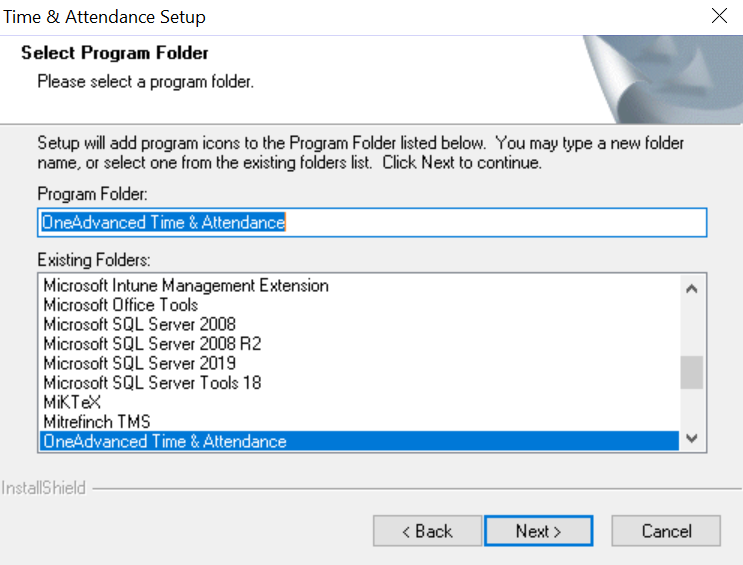
Select Next to continue.
A progress window will be displayed as the installation proceeds:
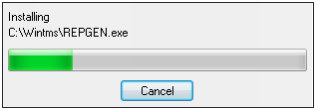
The installation should run through the completion and automatically install the necessary programs and related files. If you are prompted to overwrite any files, agree for existing files to be overwritten. Select Finish when prompted.
If you are installing on a more recent PC Operating System, you may also see the following prompt:
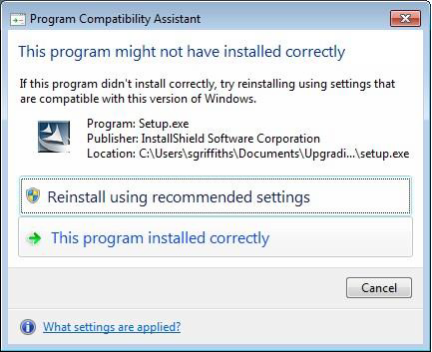
Assume that the program has installed correctly and select This program installed correctly.
Upgrading the Time and Attendance Web Instance
OneAdvanced Upgrade tool
Once you have made a backup of your existing Time and Attendance Web directory, downloaded and extracted the Time and Attendance Web v8 zipped file, you are ready to use the OneAdvanced Upgrade tool.
Choose either 32-bit or 64-bit installer
The OneAdvanced Upgrade tool is designed to upgrade an existing installation of Time and Attendance Web and contains both a 32-bit and 64-bit installer. Therefore, before commencing with the Time and Attendance Web installer, you need to confirm which installer you require.
- To do this, simply load Internet Information Service (IIS) Manager and expand the Application Pool. Then, right click on the application pool used by Time and Attendance and select Properties, then click Advanced settings.
- If ‘Enable 32-Bit applications’ is set to ‘True’, then you have 32-bit installed.
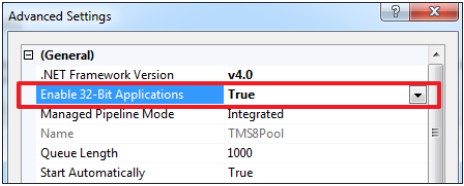
- If ‘Enable 32-bit Applications’ is set to ‘False’, then you have 64-bit installed.
- Once confirmed, cancel the ‘Advanced settings’ and click File, and then Exit to close IIS Manager.
- Then, navigate to the location of your extracted files and right click on UpgradeWizard.exe and select Run as administrator. The Upgrade Wizard will run as an administrator automatically if double clicked.
- The Upgrade Wizard will prompt you to choose the MSI installer to launch the OneAdvanced Upgrade Tool. To do this, select the Browse button, which will default to the location of your extracted files.
- Then, double-click on the required MSI file:
- 32-bit: Mitrefinch.TMS.Server.x86.msi Or 64-bit: Mitrefinch.TMS.Serverx64.msi
The example shown below would be for a 32-bit install:

- Select Next to continue.
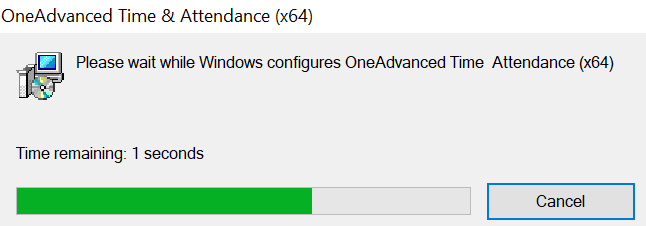
The following window will then open displaying the progress while the files are extracted.
Prerequisite check
The next screen performs a prerequisite check on the server.
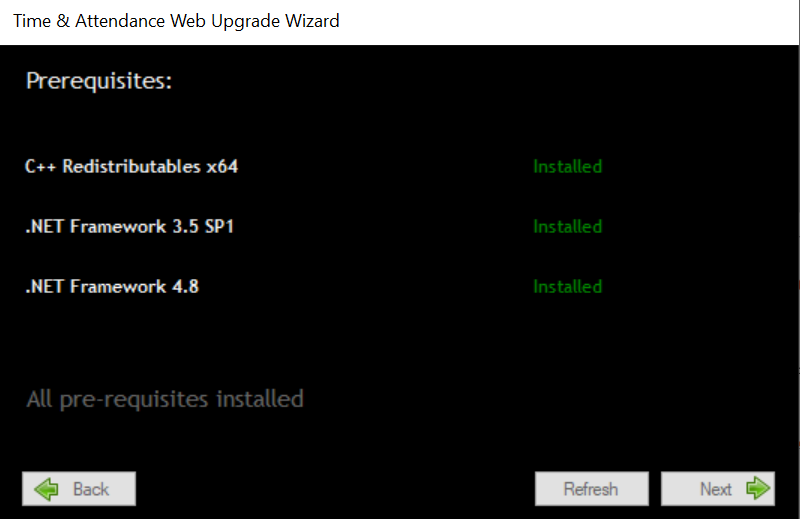
In the example above, the X++ Redistributables are already installed. If they are, select next and skip over the Installing the C++ Redistributables section.
Installing the C++ Redistributables (if required)
If the C++ Redistributables are not installed on your server, please follow the steps below:
- Select the Install button which is displayed on the Prerequisites screen.
- On the Microsoft C++ Setup screen, select the check-box to accept the licence terms and then select Install to start the process. Progress bars will be displayed as the installation proceeds.
- Select Finish to close the setup. Next, select Refresh on the OneAdvanced Upgrade tool to update the Prerequisites screen, and select Next to continue.
Choose the Web directory
Select the Browse button and locate the directory where your existing Time and Attendance Web files have been installed. The following is the defaults directory:
C:\inetpub\wwwroot\TMS
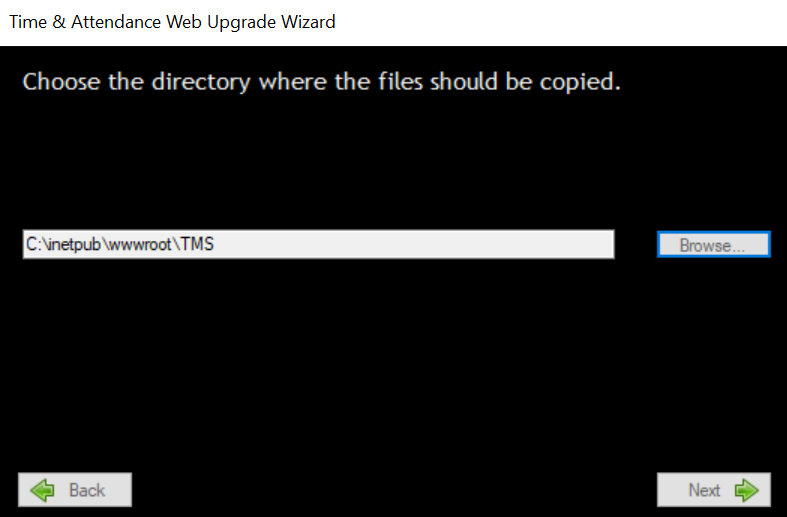
Select Next to continue.
Review
A window opens that asks you to review the following information:
- The installed version
- The upgrade version
- The location of the install file
- The location of the web directory
- The location of the Application Host Backup — the Upgrader tool backs up the applicationHost.config and machine_backup.config files. These are the root files of the configuration system when you are using IIS 7 and above. They include definitions of all sites, applications, virtual directories and application pools, as well as global defaults for the web server settings.
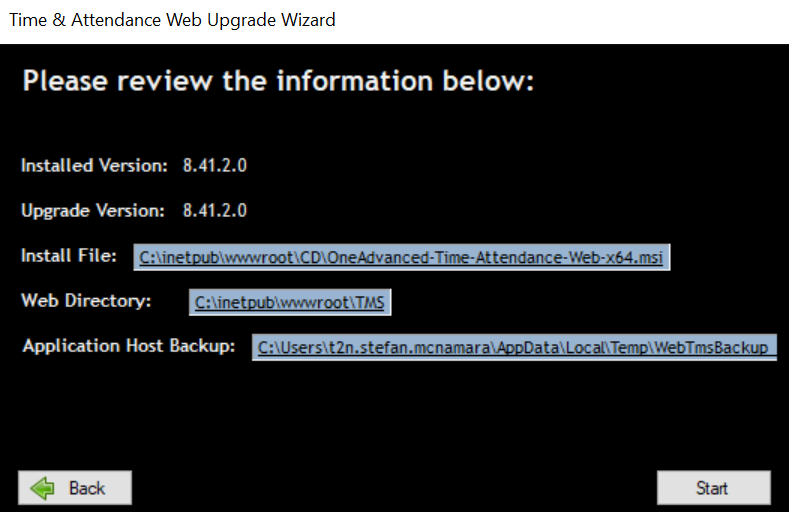
This window will also inform you that you need to run SYSGEN after performing the upgrade – this is covered later on in this guide. If you need to change any of the previous steps, select Back.
If you are ready to begin the upgrade process, click Start and a progress window will be displayed.
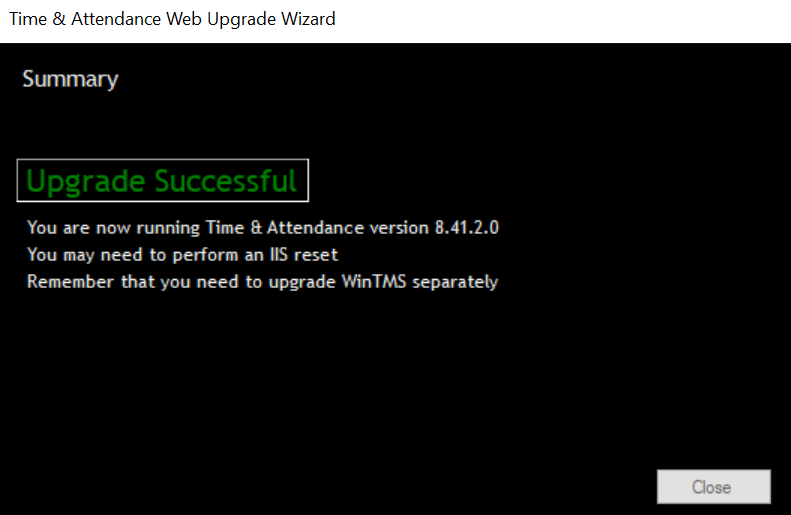
Summary
The final step in the Time and Attendance Web upgrade is to review the upgrade summary. This will tell you if the upgrade has been successful and will inform you of the version of Time and Attendance Web you are now running. There are three possible outcomes on this page:
- Upgrade Successful – this indicates that the upgrade of Time and Attendance Web has been completed successfully. Select Close to close the OneAdvanced Upgrade tool.
- Upgrade Successful with warnings – this indicated that the upgrade was completed successfully but some warnings were generated during the process. The summary will inform you of the warnings and direct you towards a solution.
For instance, the example below informs you that the web.config file has been changed:
Selecting More info offers you the chance to view the changes using WinMerge:
This program allows you to correct the changes to your web.config file manually. The Upgrader tool always makes a backup of the web.config file in case any errors are introduced.
If you click Yes, you will be shown a side-by-side view of all of the changes to the web.config file:
You can then use the Next difference button on the toolbar to cycle through all of the different changes compared to your own version:
When you come across a new entry, the WinMerge tool will highlight the new entry in red (like in the example above). To add the new entry into your web.config file, click the Copy left button in the toolbar:
When finished, you will then be prompted to save the changes to the file:
A web.config report is also produced by the Upgrade tool, and is saved on the desktop of the PC where the upgrade was performed. If you are having any difficulties, please email this file to support@oneadvanced.com
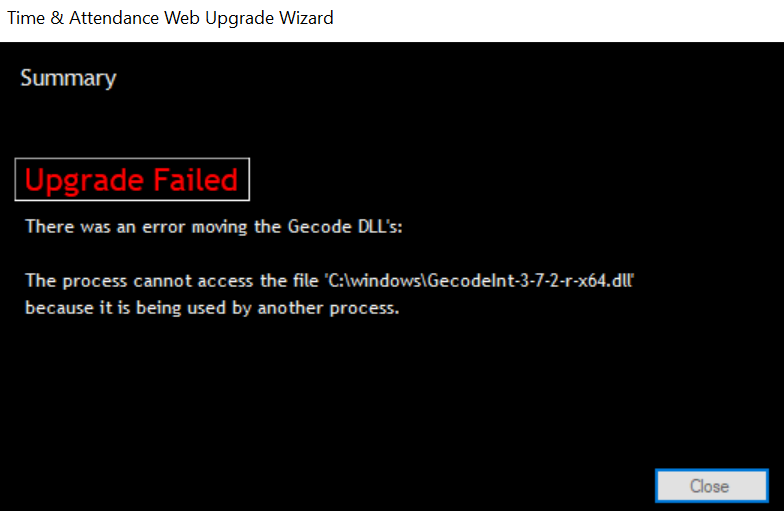
- Upgrade Failed – the upgrade process was stopped and your Time and Attendance Web files have not been changed. The error examples below relate to ‘There was an error moving the Geocode DLL’s’
Example – The process cannot access the file because it is being used by another process
If you see the following window, then the Application Pool is still running within the IIS Manager, therefore the Time and Attendance Web upgrade could not be applied.
Solution: Instructions on how to address this are show below:
- Select Close to close the OneAdvanced Upgrade Tool.
- Open a command prompt on the host server and type the command IISRESET /STOP. This process should only take a second or two.
- Repeat the Time and Attendance Web upgrade procedure.
Upgrading your data via SYSGEN.EXE
The final stage in upgrading your existing installation of Time and Attendance v8 is to update your data and databases to the new version. To do this, you need to run the SYSGEN program.
Running SYSGEN
SYSGEN is the OneAdvanced System Generation application which is used to upgrade, backup and repair your Time and Attendance database. Navigate to the folder where WINTMS has been installed, and double-click SYSGEN.exe and follow the prompts. Before the login window opens, the following warning may be displayed:
If you have followed this guide, then you will have already made a back-up of your data and so it is safe to proceed. Click Yes to continue. If not, please select No and backup your data using this guide.
The warning window will close and the SYSGEN login window will open:
You will need to enter the Master account login details. The SYSGEN application will open, displaying your current server settings and Version information. In this example, the WINTMS package has been upgraded to v8.11 but the database is currently at v8.09.
Select Upgrade or select Upgrade from the File menu to start the program.
Select Yes in the Confirm window to proceed:
SYSGEN will then upgrade the database tables. A progress log will be displayed.
At the end of the process, an information window will appear:
Click OK to close the window. Then select Close on the SYSGEN LOG window.
The Version information in SYSGEN window should now indicate that the database has been upgraded. A new window will open telling you that the application will shut down:
Selecting OK closes all windows and exits SYSGEN.
Restarting the web server
Before attempting to use your upgraded version of Time and Attendance Web, you will need to restart your web server for the changes to take effect.
Open a command prompt on your web server and type the command IISRESET. This will force the IIS server to reload the files from your updated Time and Attendance Web folder.
Requesting and uploading the updated Licence
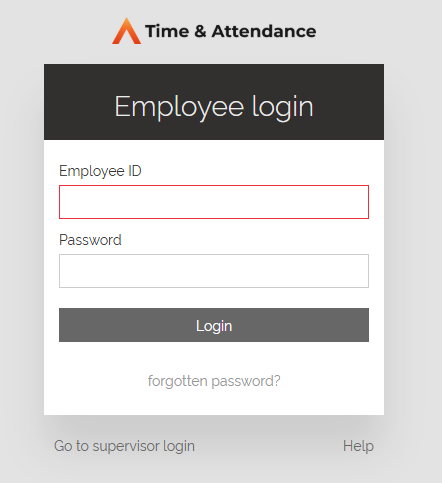
After upgrading v8 you will not be able to fully load WINTMS or Time and Attendance Web. For example, an Invalid licence error message will appear when attempting to login via Time and Attendance Web:
An updated licence needs to be applied via Time and Attendance Web (using the MASTER login) as licence details now contain version number information. As a result, an updated copy of your licence will need to be created and uploaded onto your system following an upgrade.
If you received an updated licence file with your upgrade, then skip to the section about uploading a licence.
Requesting a new licence
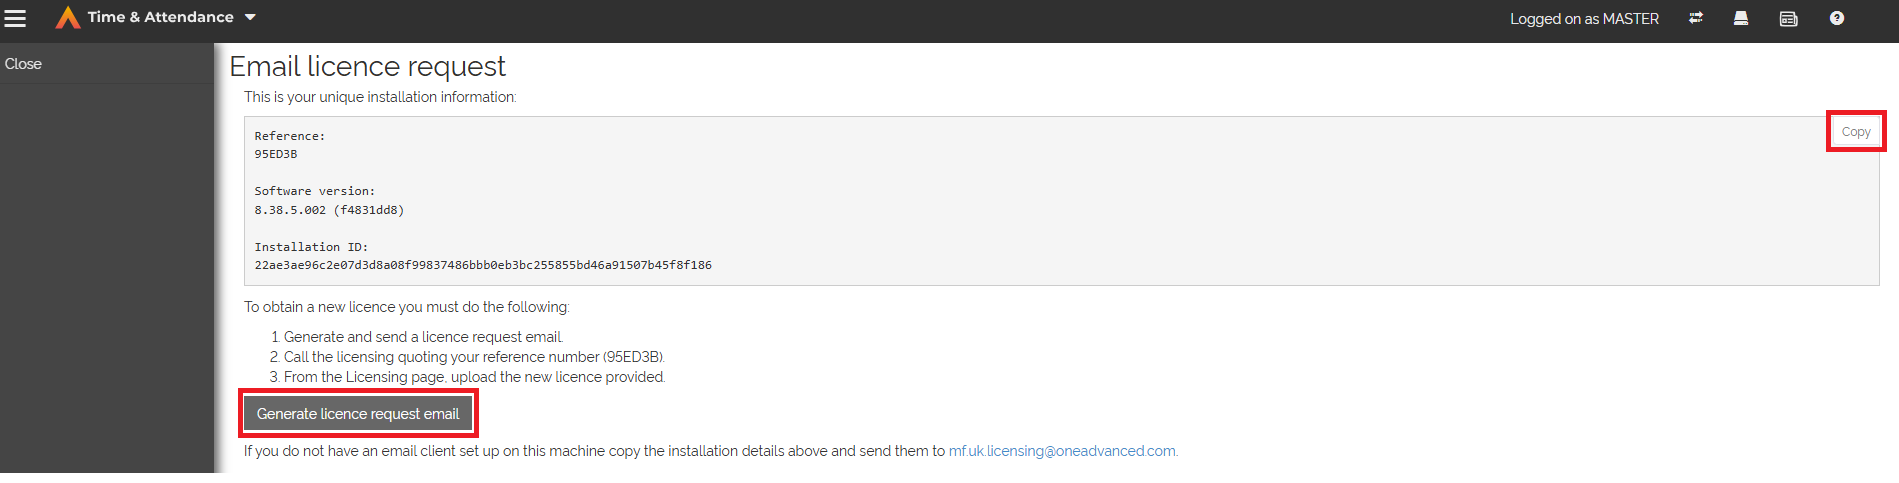
If you did not receive an updated licence with your upgrade, then you will need to request a licence by loading Time and Attendance Web and the MASTER user, then navigate to the Licencing page and select Email licence request within the left-hand navigation pane.

Select Generate licence request email to open the draft message in your default email client. The generated email is addressed to OneAdvanced and contains your unique installation information in the message. Once you have sent the message, contact Support or your Account Manager and quote your reference number displayed in the email.
OneAdvanced will then generate your new licence using your unique installation information and then send you an email with the new licence file attached.
Request and Upload the Amended Licence
To upload a new licence in Time and Attendance Web, login as the MASTER user using the Supervisor login option.
Then, navigate to the Licensing page and select Upload licence in the left-hand navigation pane.
The Upload licence page opens as shown in the example below:
The Upload licence page has a Document location field. Select Browse to open a file browser window on your PC and navigate to the licence file you wish to upload.
The path of the file is displayed in the Document location field.
Select Submit to be directed to the Upload confirmation page. Alternatively, select Cancel to abandon and return to the Licensing page.
The Upload confirmation page contains a comparison to review the information before activating, between your existing licence and the new licence. For example:
Anything that has changed from the existing licence compared to the new licence is highlighted in yellow.
Select Activate at the bottom of the page to activate your licence or select Cancel to return to the Upload licence page.
When activated, you’ll be directed back to the Licensing page. A success message will be displayed at the top of the page along with all the updated details of the new licence. For example:
Restarting Time and Attendance Services
After completing the upgrade of your systems, you will need to restart all OneAdvanced Time and Attendance applications and services such as the Poller and Processor on your polling PC or server. Instructions on starting the Time and Attendance services are show below.
- On your server which runs the Time and Attendance applications/services, load the Poller controller via the taskbar or shortcut.
- When prompted, enter the MASTER login details.
- Select File, then click Start poller. Once started, select File, then click Minimise.
Then repeat from step 2 using the Processor Controller via the taskbar or shortcut.
- Should you have more than one poller/processor running, repeat the steps again for each of them.
Confirm upgrade version
For the last stage of the upgrade procedure, it is recommended that you confirm the version has successfully updated.
- Log in to WINTMS as the MASTER user and select Help and then click About. The About window will display your installed version number.
- Log in to Time and Attendance Web as the MASTER user then navigate to the Licensing page and confirm the ‘Allowed version pattern’.